
Anaconda is a free and open source distribution of Python and R programming language for scientific computing. It is extensively used in data science, machine learning, deep learning and large scale data processing applications. It simplifies package management and deployment.
Let’s see how to install Anaconda on windows and how to create a virtual environment
Anaconda installation process
Step 1:
Open your browser and type the following URL in address bar https://anaconda.com

Step 2:
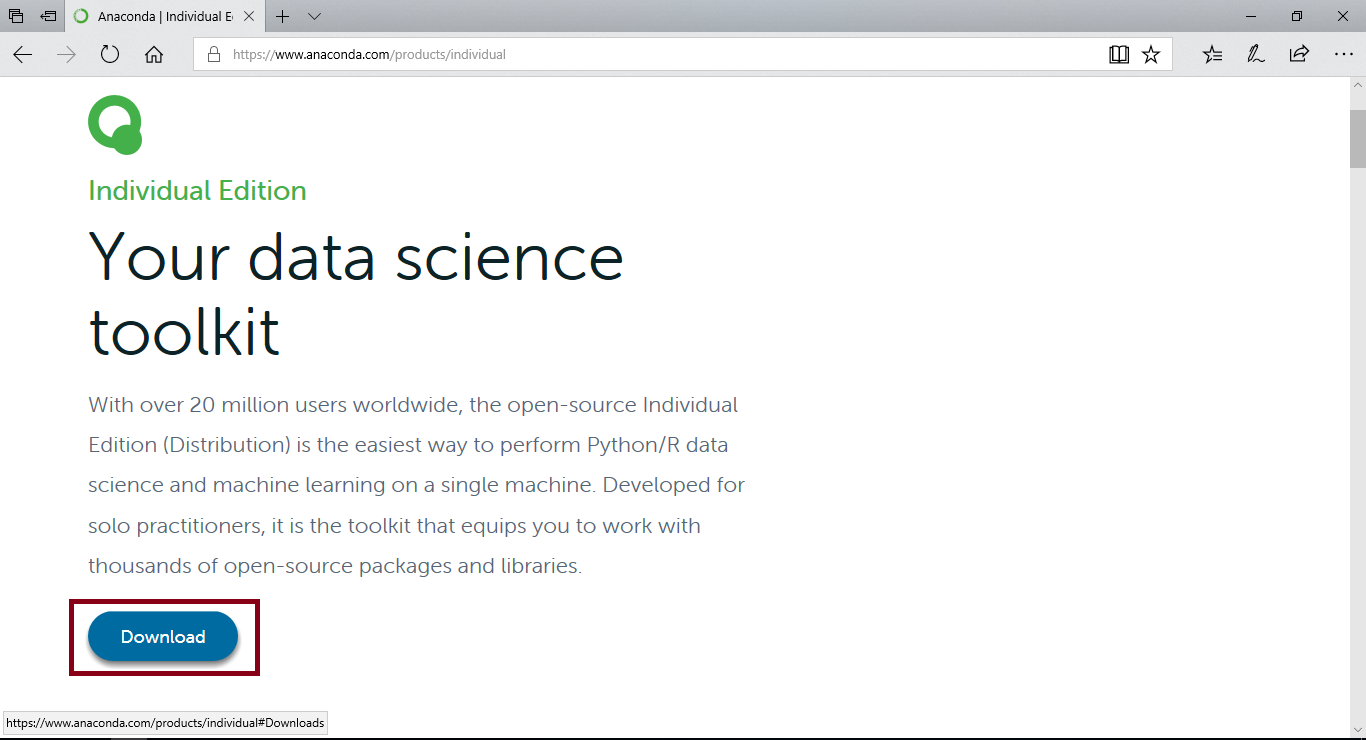
Select individual edition from products.

Step 3:
Click on Download and you will be redirected to the download options.
Step 4:
Click on 32-bit or 64-bit installer option depending upon your system configuration..
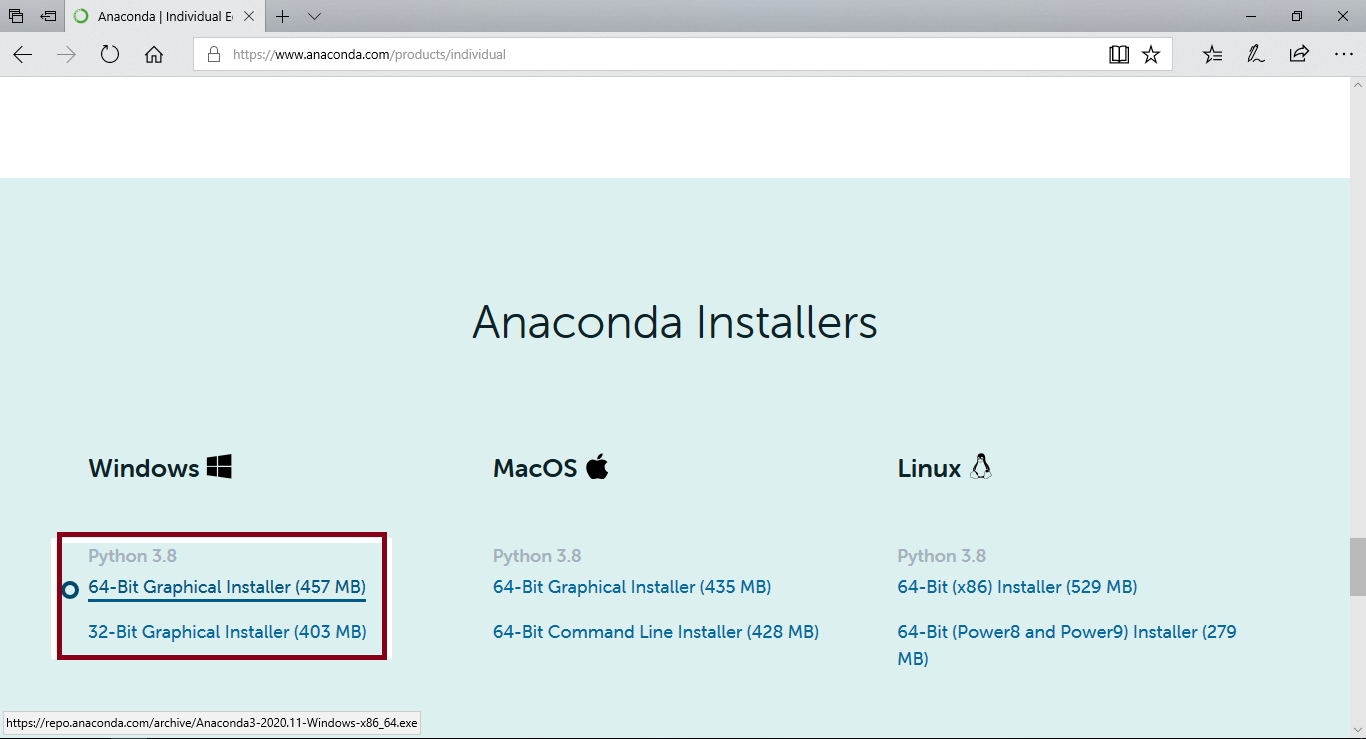
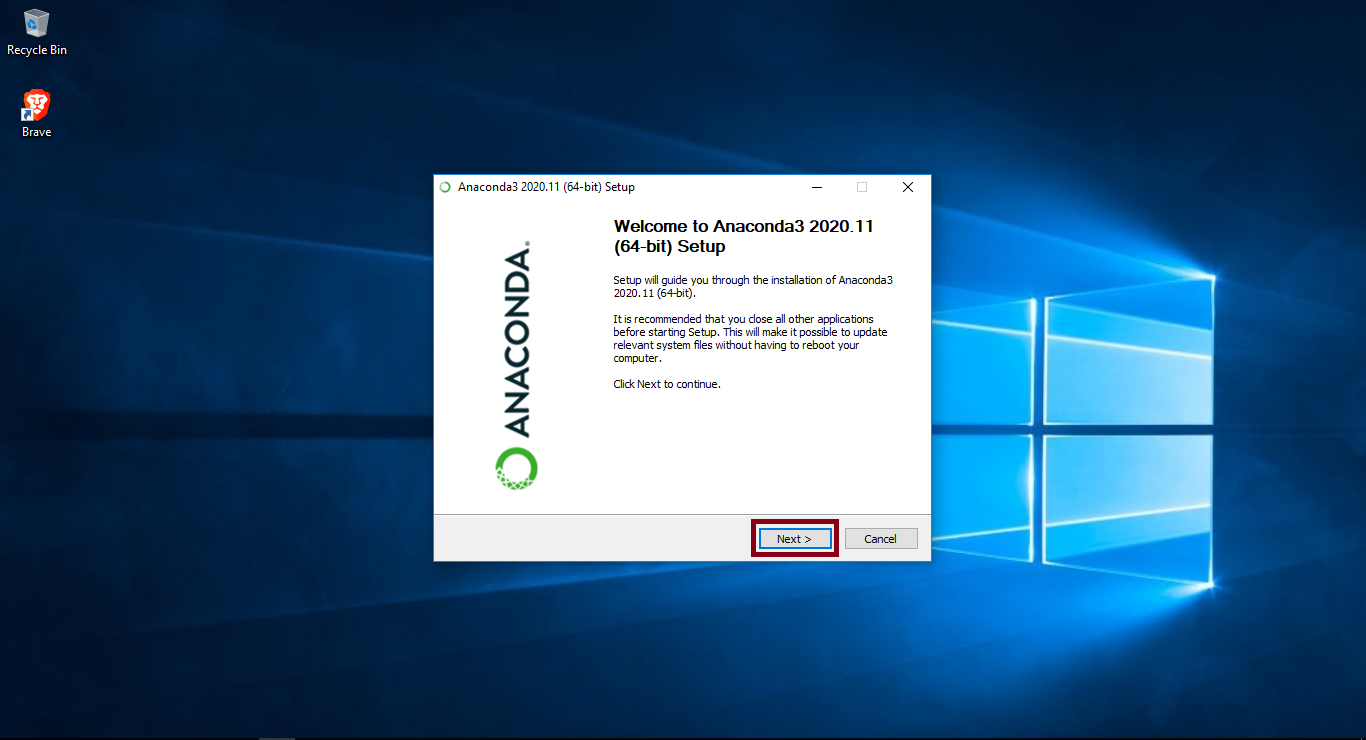
Step 5:
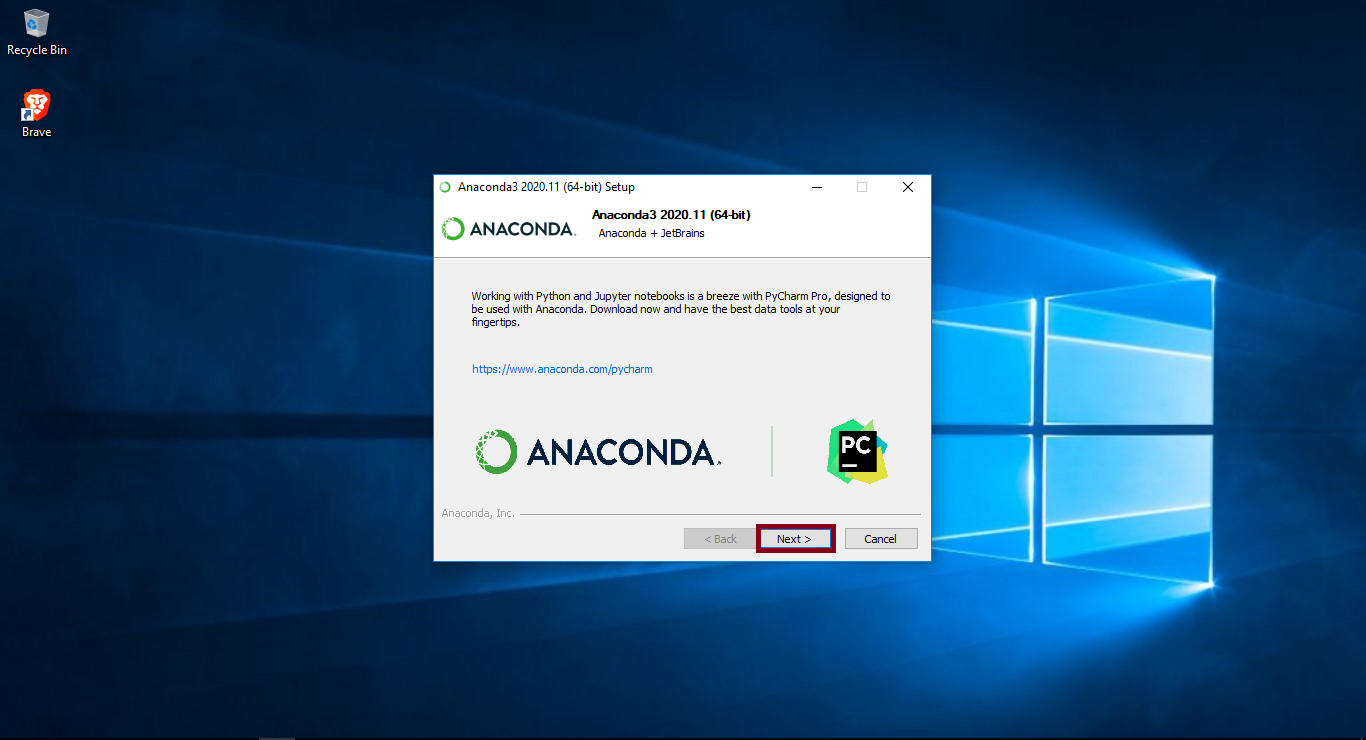
Run the setup file after downloading, to start the installation process.
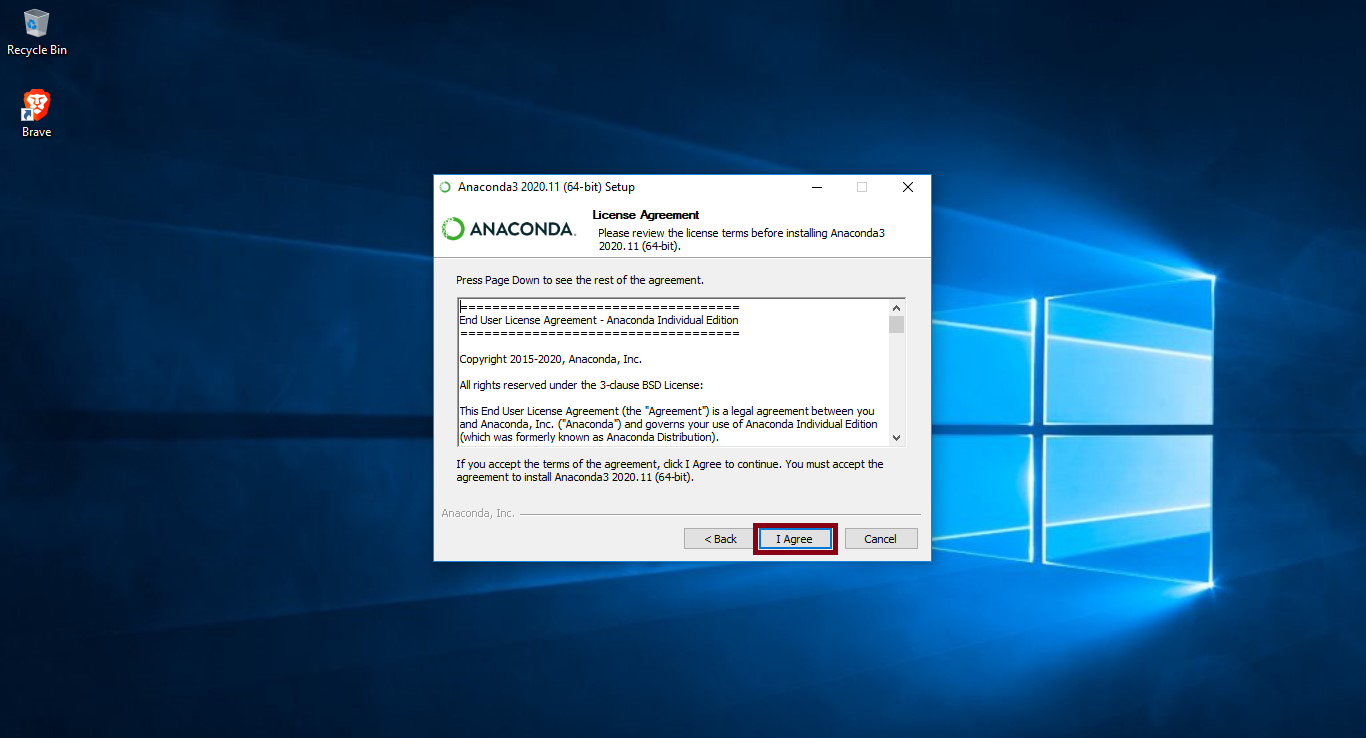
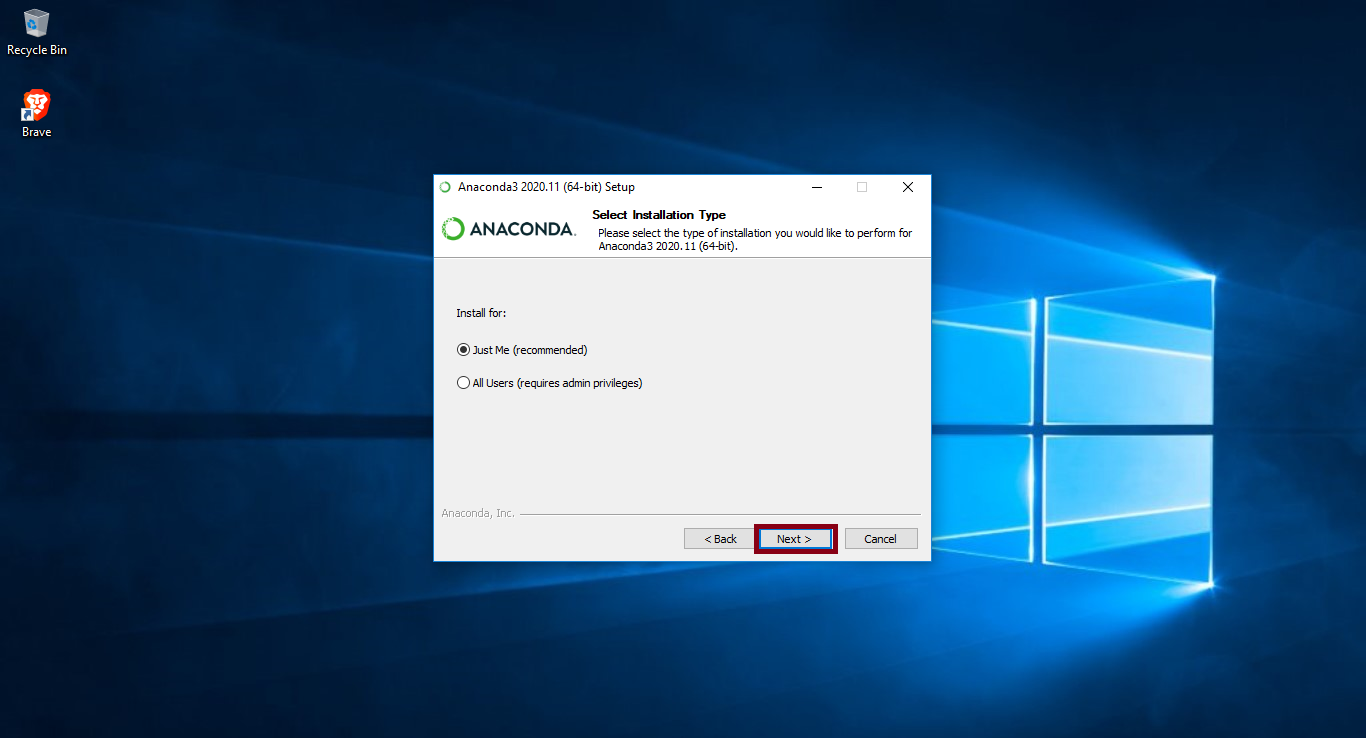
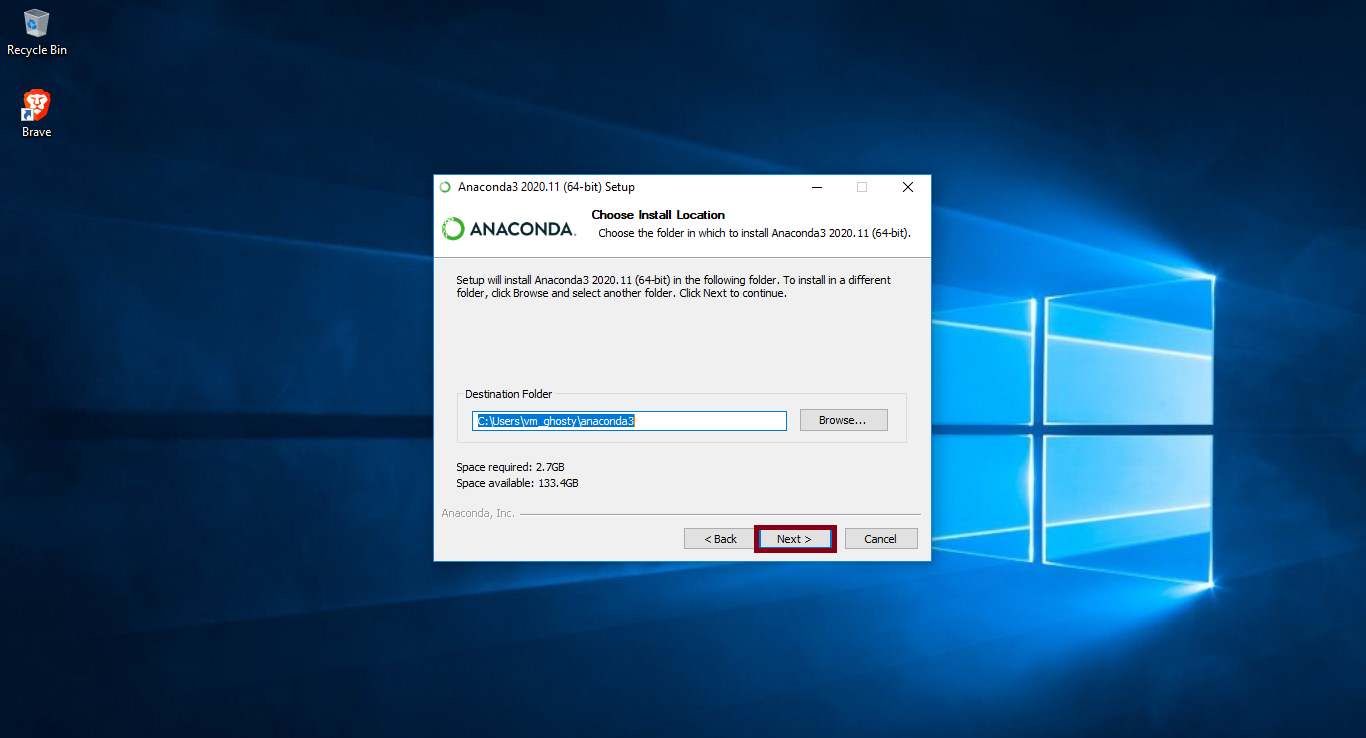
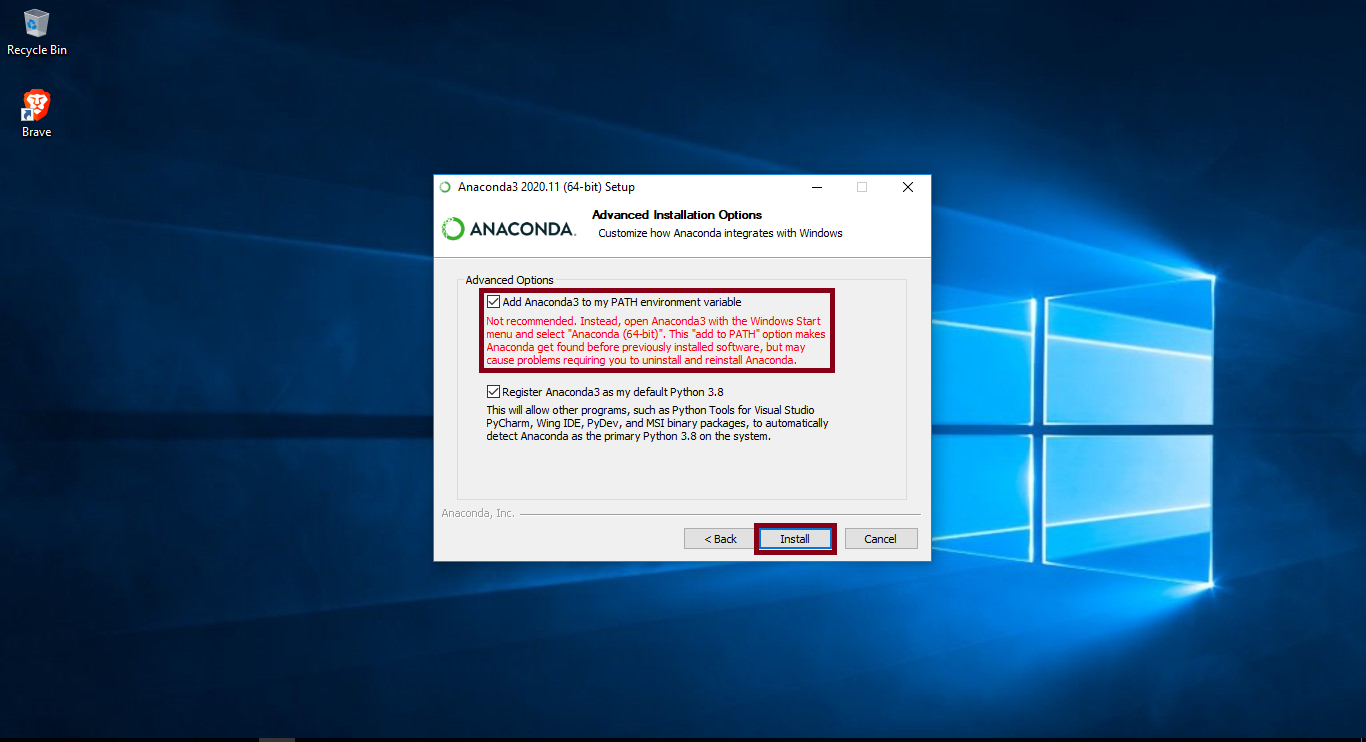
Here you can either select add to path option and add anaconda directly to path during installation, this enables you to run anaconda from anywhere in the command window or you can choose to not select this option add anaconda to path later.
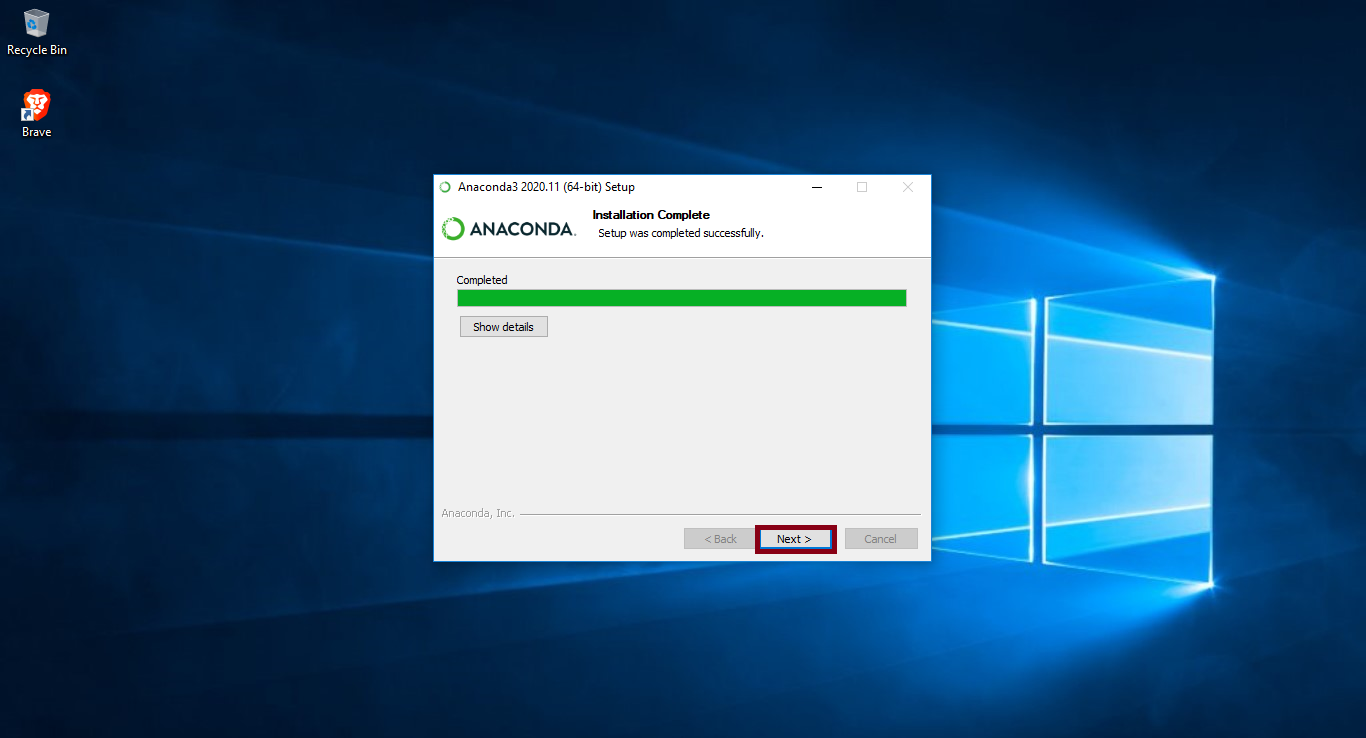
Click on install option to start the installation
Once the installation is completed you will be see this window

Step 6:
Once the installation is finished, following files will be installed on your windows system.
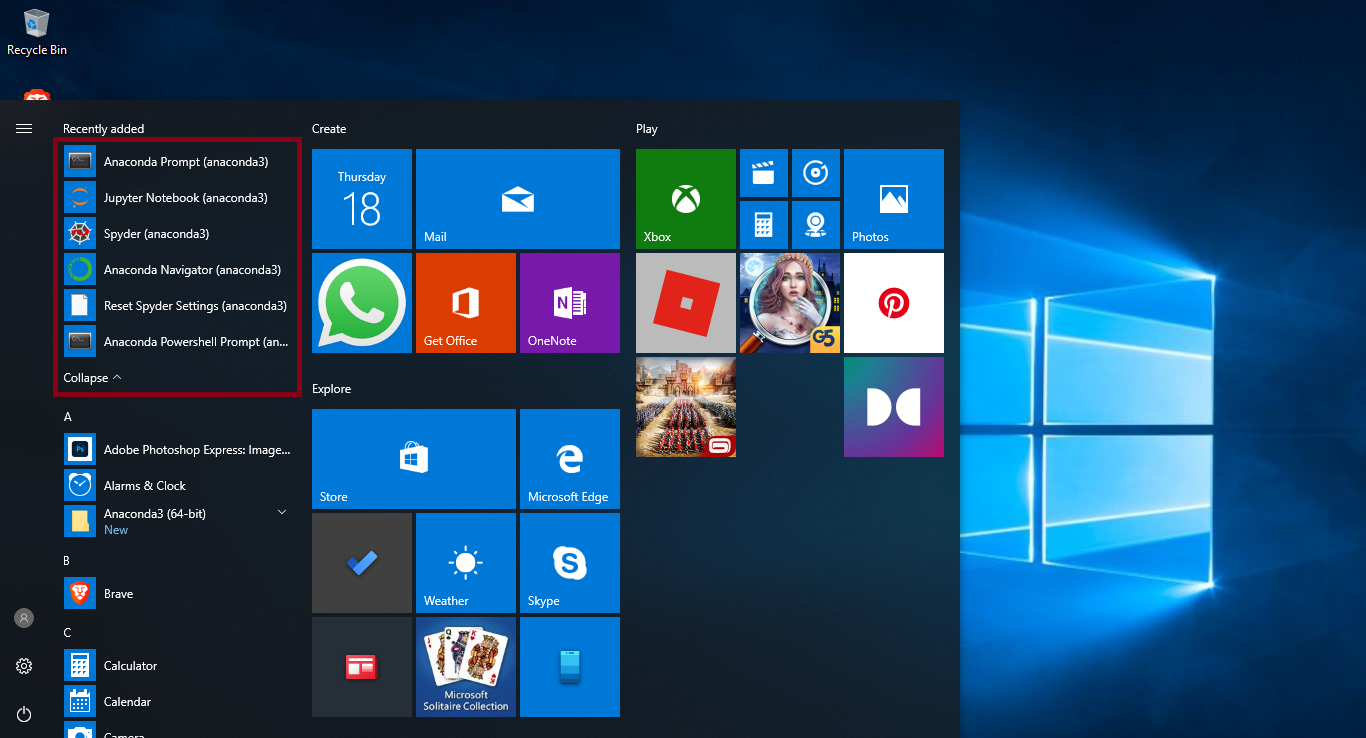
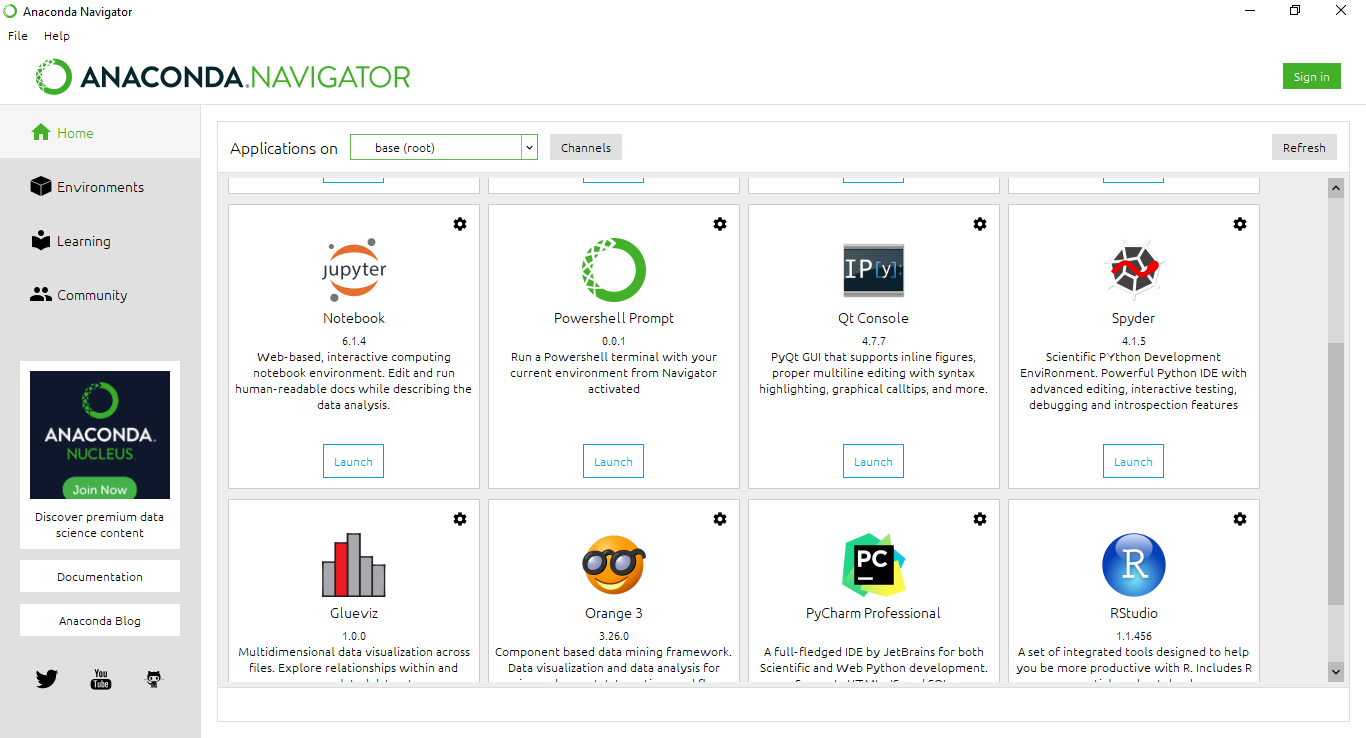
Now open the anaconda navigator
Since we will be using jupyter notebook extensively, you can launch Jupyter notebook directly from anaconda navigator
To check if Anaconda has been correctly added to path, run command prompt and type conda. It should give you a list of all the anaconda commands
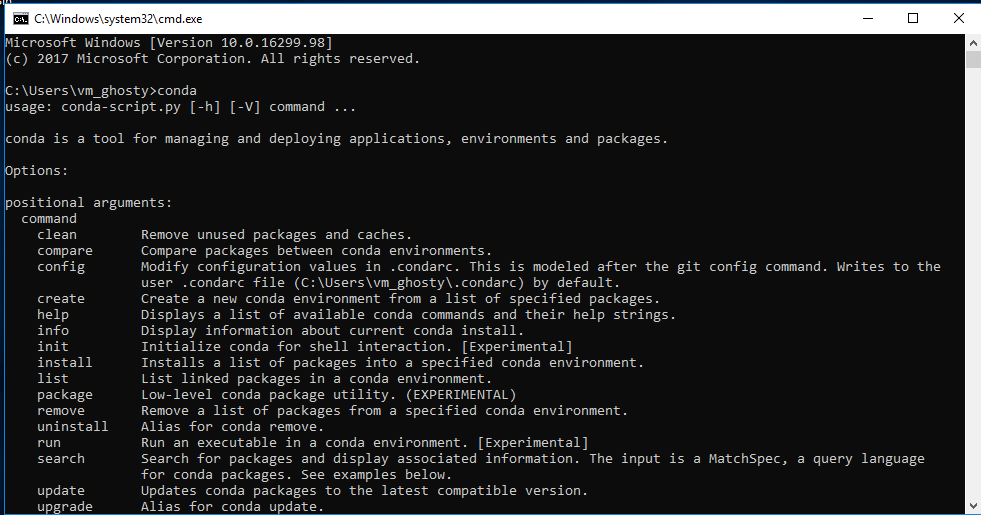
Conda commands:
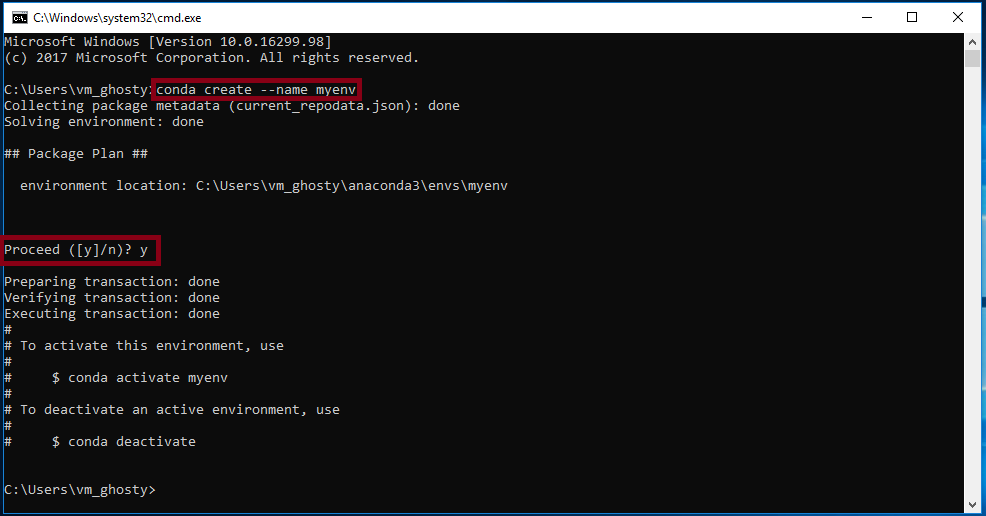
Creating a new conda environment:
To create a new environment you can use the following command:
When asked to proceed, type y:
To create an environment with specific version of python the command is:
To create an environment with specific package the command is:
To create an environment with specific version of python and multiple packages the command is:
To create an environment from a yml fileuse the following command:
A yml file contains a list of all the packages you want to install in an environment. It is ideal to use a yml file while creating an environment as you can easily share your environment setup with anyone who wants to reproduce your results and you always have a backup of your setup. Incase something goes wrong you can easily create your environment again with the exact same setup. The first line of the yml file sets the name for the environment
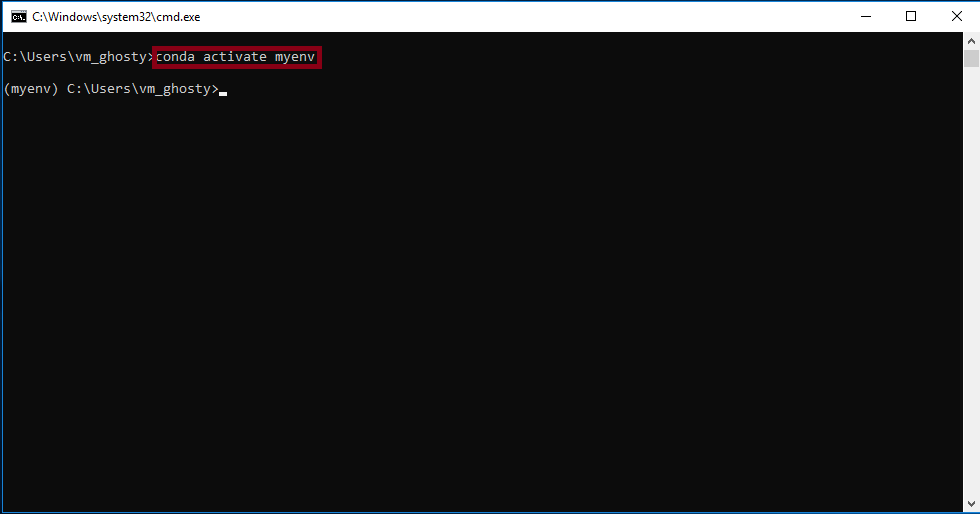
Activating and deactivating an environment:
To activate an environment you can use the following command:
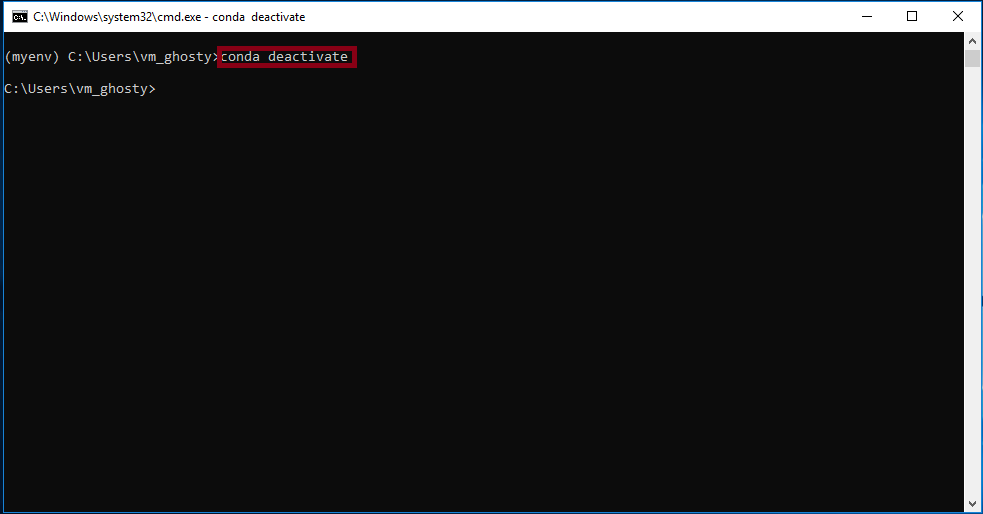
Once your environment is running you can use the following command to deactivate the running environment
Updating an environment:
To update an environment you can use the following command:
To update an existing environment from a yml file you can use the following command:
Cloning an environment:
To clone an environment you can use the following command:
Here, myclone is the name of the new environment and myenv is the name the existing environment
Removing an environment:
To remove an environment you can use the following command:
Installing packages in a conda environment:
Conda install:
To install packages in a conda environment you can use the following commands:
Pip install:
To install packages in a conda environment using pip package installer you can use the following commands: